DIY Rock Candy Recipe
My girls have been begging to make our own rock candy for months! So we decided to give it a go and they turned out to be an easy and TASTY little science project.
You will need:
1 cup of water
Pot/saucepan
3 cups sugar
Food coloring
Flavorings (such as vanilla extract, caramel, etc.
Wooden sticks
6 glasses or jars
Clothespins/clips
Directions
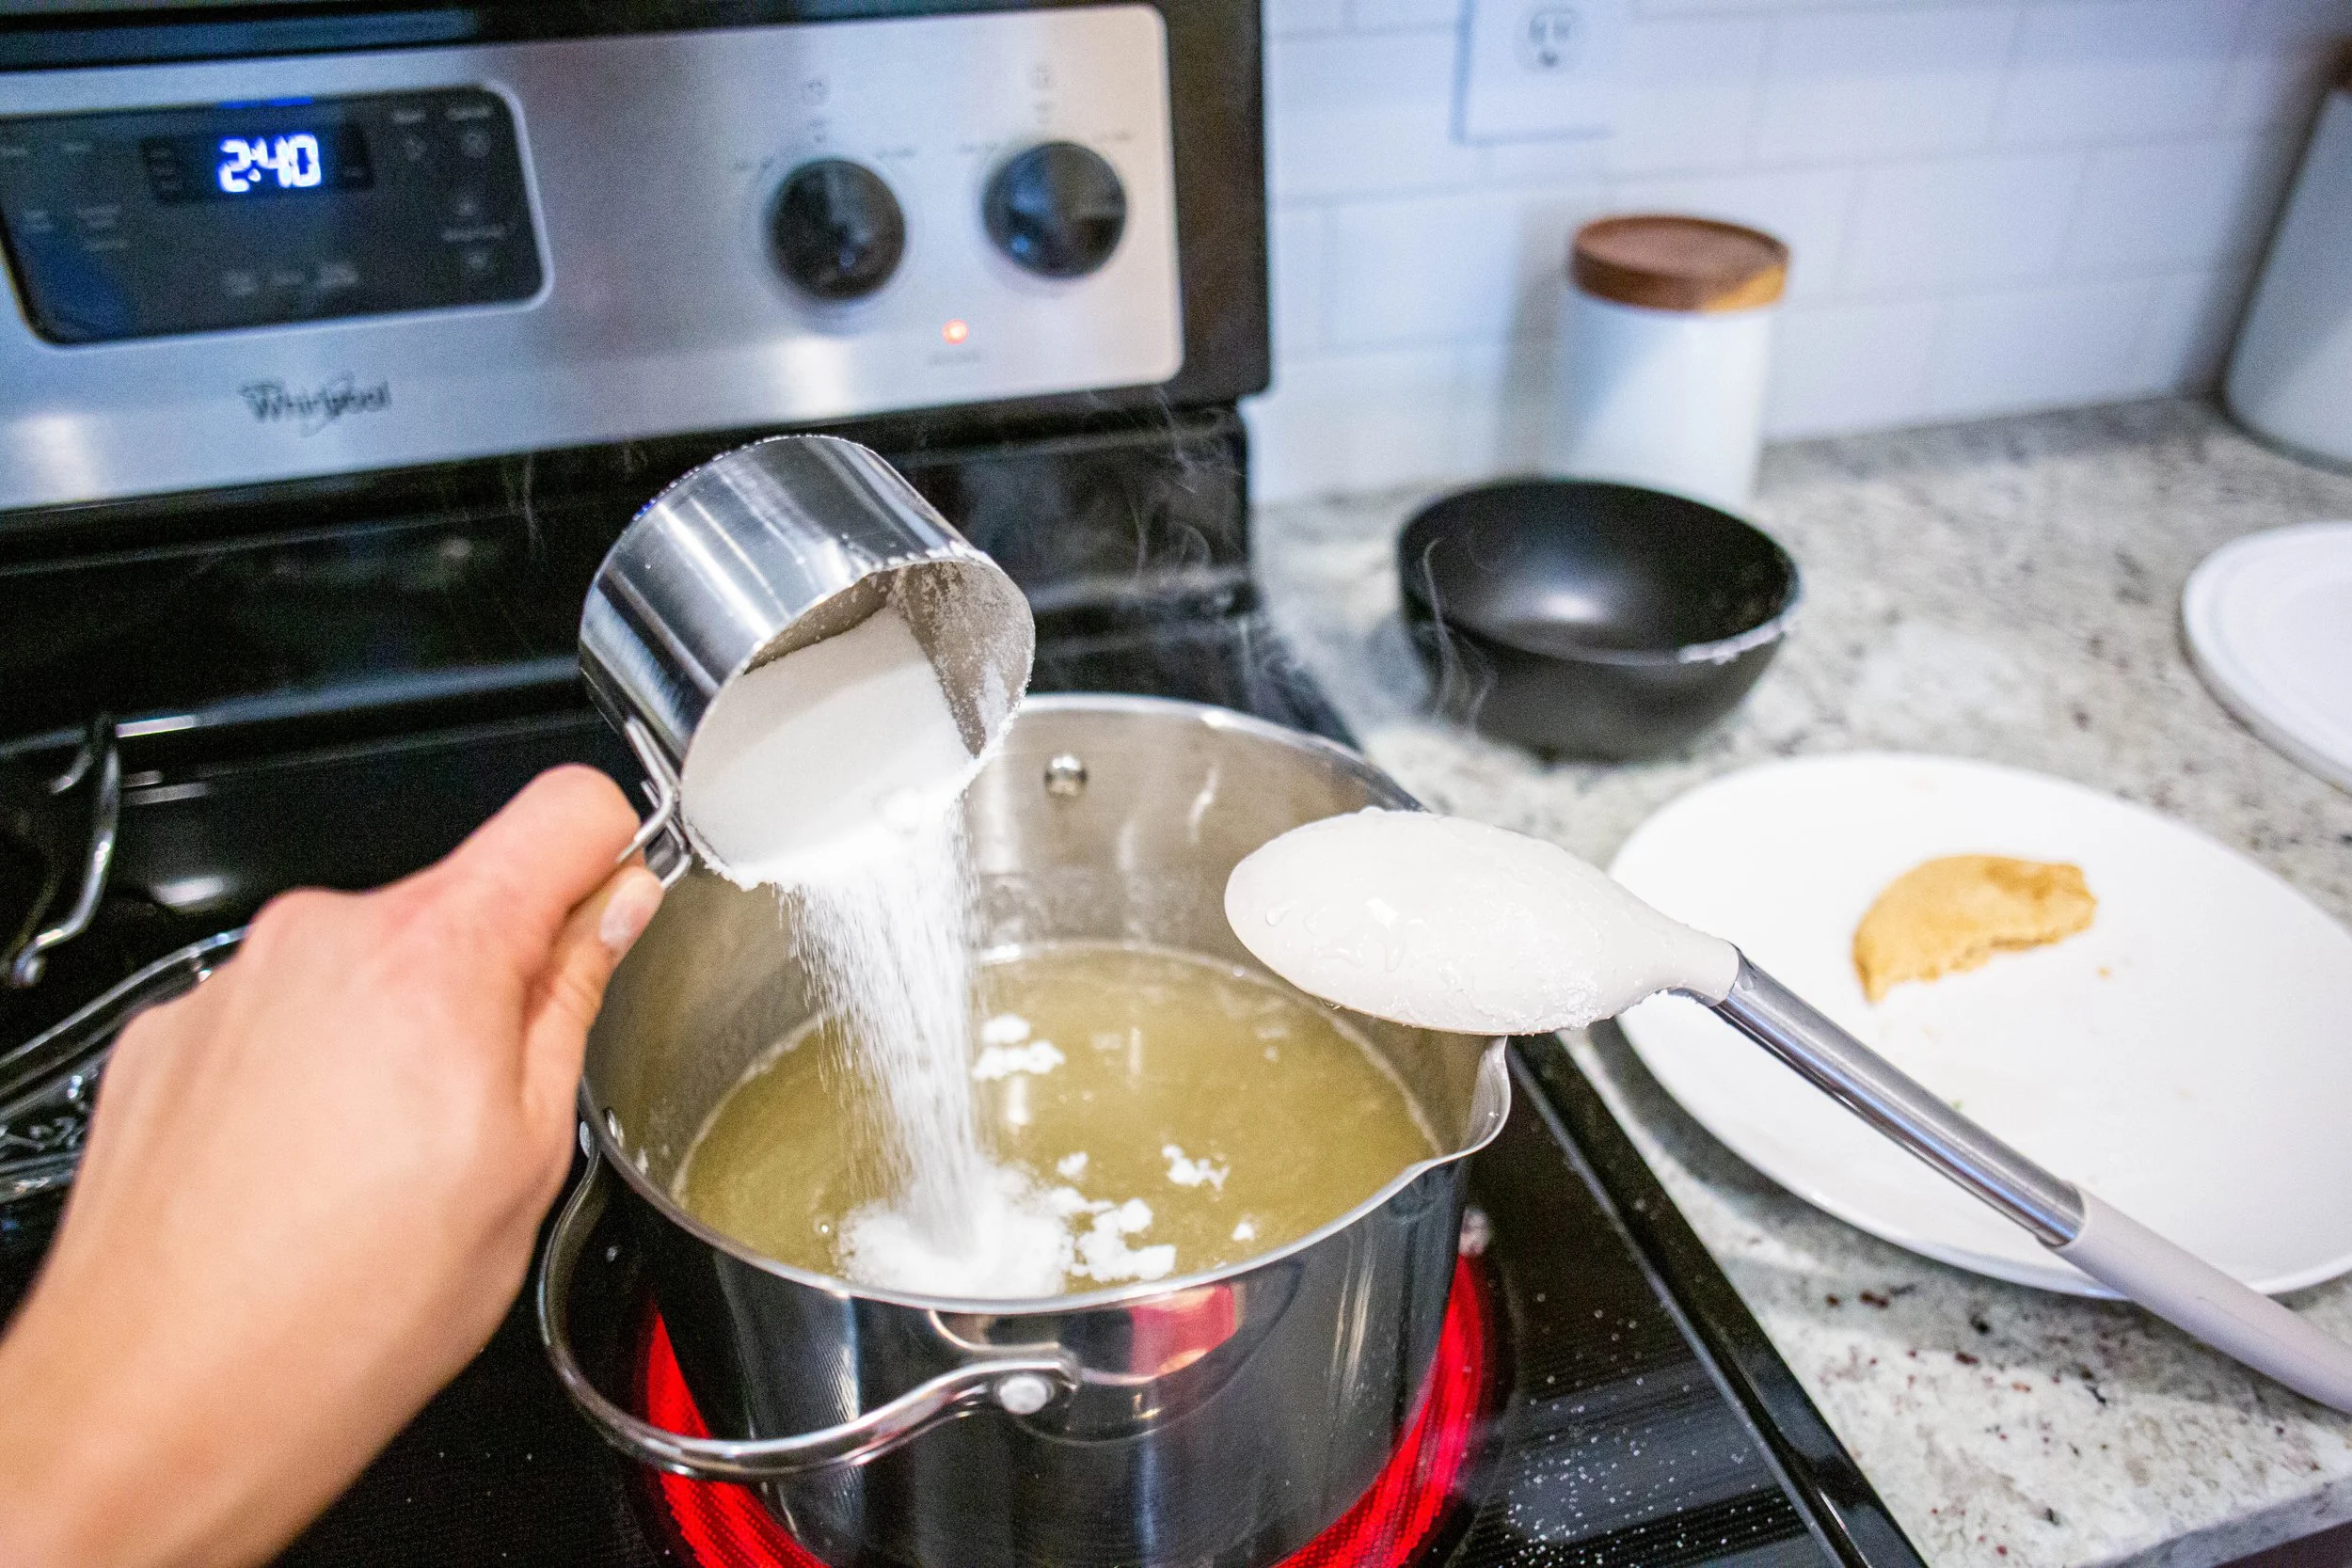
Bring water to a boil.
Turn down the heat slightly.
Slowly add sugar to the water until all 3 cups are dissolved.
4. Dip sticks in water then coat them in sugar.
5. Optional: Add desired food colorings and flavors to each glass/jar.
6. Pour sugar/water mixture into each glass/jar. Stir.
7. Then place a sugar-coated stick in each jar/glass and find a way to keep it from touching the very bottom of each glass. (We used clothespins/chip clips and another wooden stick to keep each stick slightly raised.)
8. Let the sticks sit in the glasses for a few days. The longer, the better. Watch the sugar crystals grow around the sticks! (*Note: My kids got a little impatient so we only waited for two days and most of them didn't stay together well!)
9. Once the sticks have set for a few days, you will notice that a layer of the sugar liquid has solidified at the top of the glass. Use a knife to carefully break this top layer. Next, pour out the liquid into a bowl and gently pull out the sticks.
10. If a stick gets stuck to the bottom, do not force it! This will cause the "rock" crystals to fall off the stick. Simply run hot water on the outside of the glass and slowly loosen the stick out.
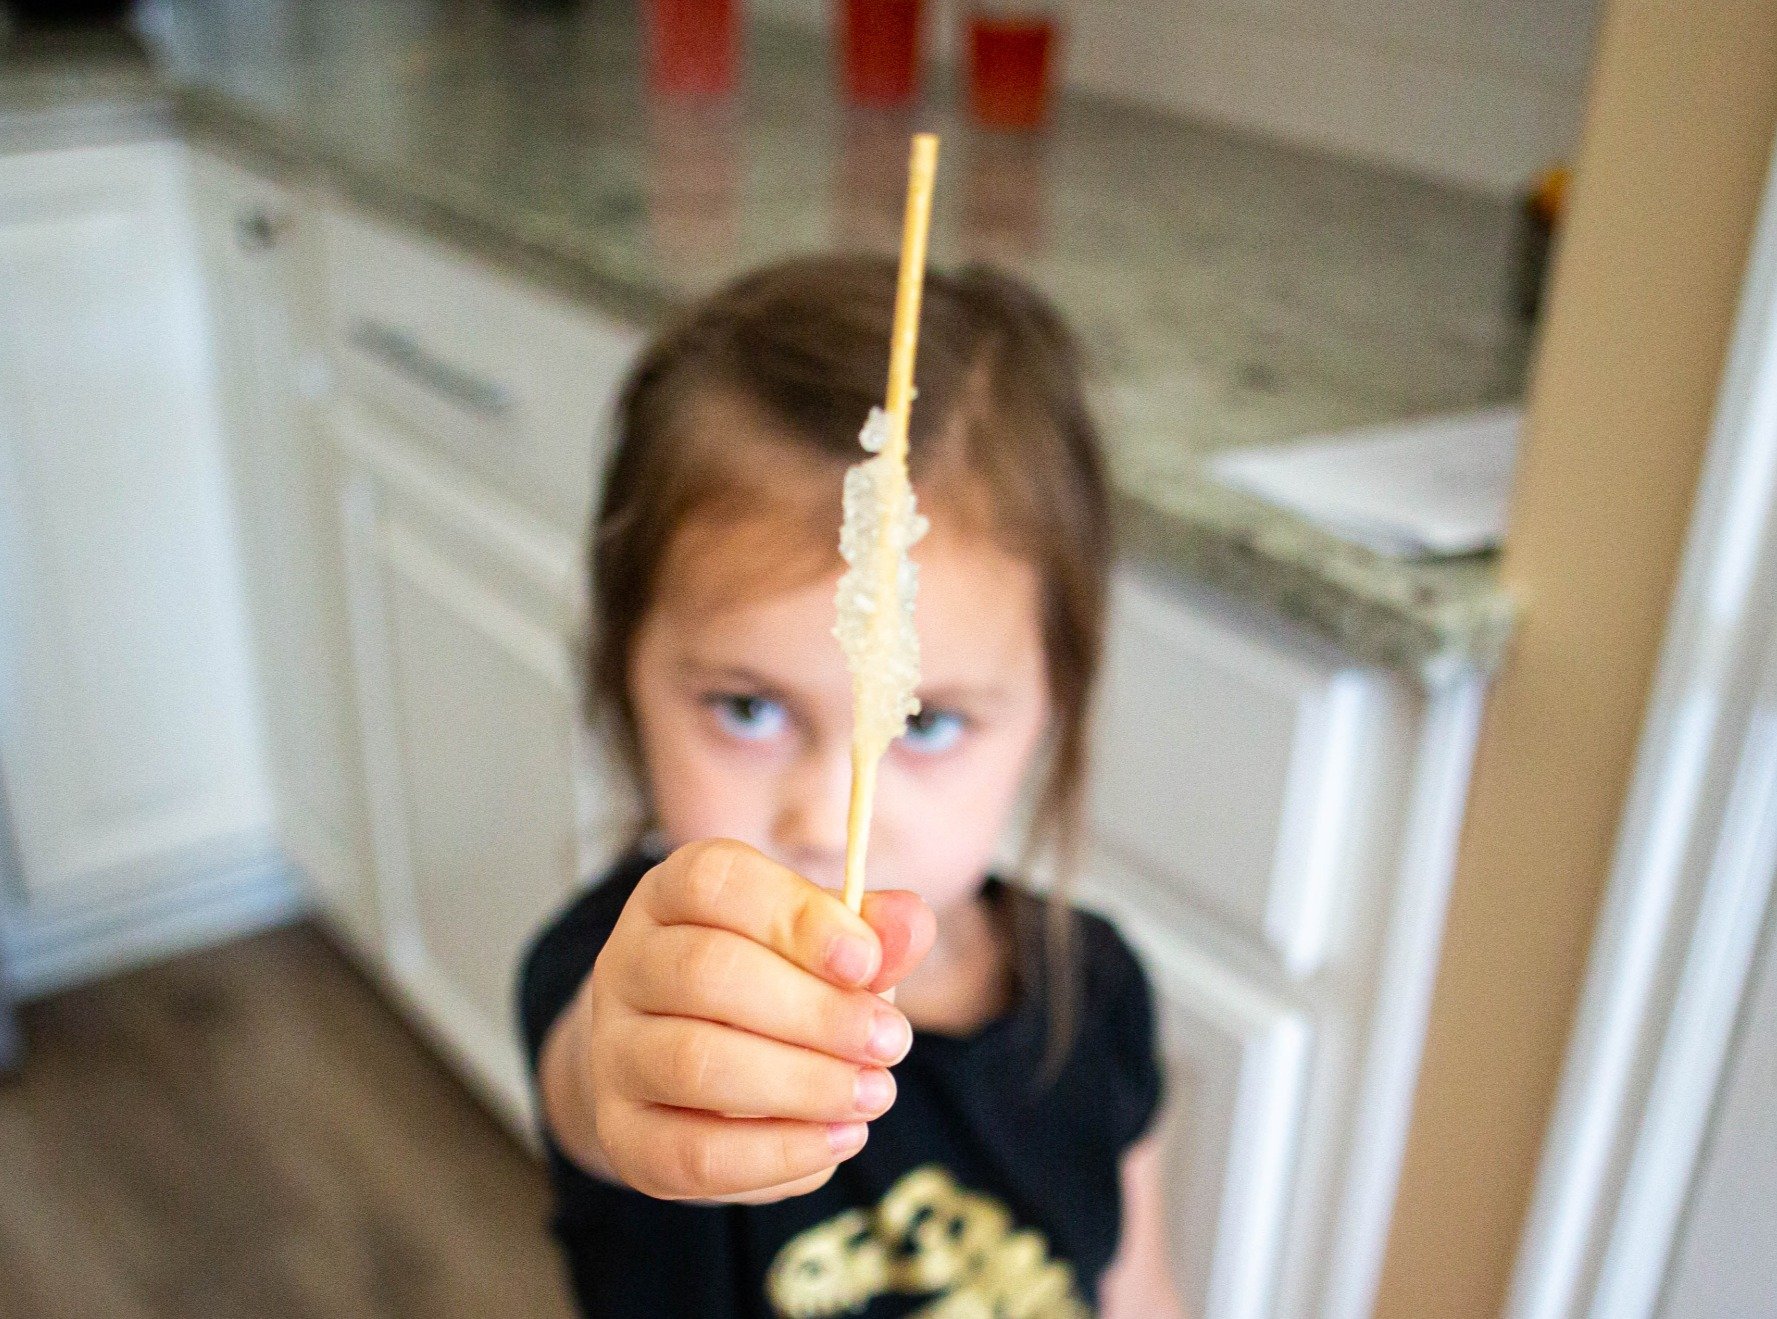
Once you have the stick free, you're now ready to enjoy your rock candy! Let us know if you give this a try and how your tasty treat turns out!


Our dinosaur emergent reader is perfect for your preschool dinosaur unit!